Before using the Hold Print Function on the Table Map, ensure that you have performed the required configuration outlined here.
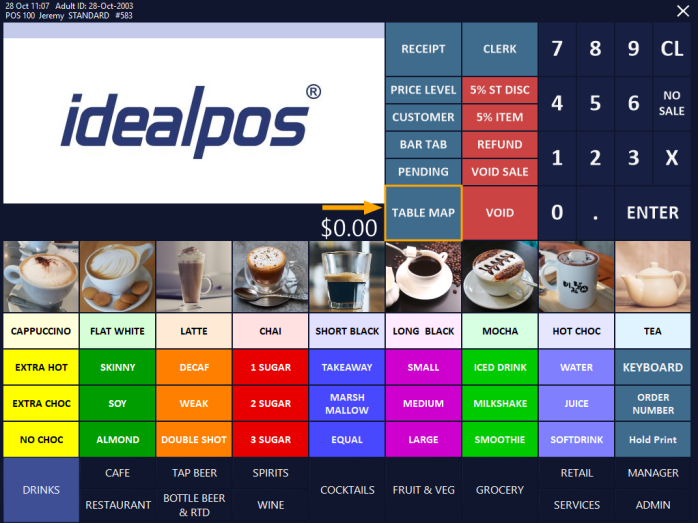
To use the Hold Print Function on the Table Map, ensure that the POS Screen does not contain any items, then press the Table Map button.
Select a Table that has a "Ready" status on the Table Map, then press the "Hold Print" button located below the Table Map.
The "Hold Print" button will change to "Kitchen".
Press the "POS" button to enter the number of Guests/Covers, then proceed to the POS Screen to add items to the table.
Note that if you have the Yes/No Option "Inhibit Occupy Table" enabled, the POS button will instead show as "Occupy".
You will need to press the Occupy button first, enter the number of Guests/Covers, then the button will change to "POS" - press "POS" to go to the POS Screen and add items.
Enter the number of Guests/Covers and press OK
Add the required items to the sale, then press the "Table Map" button to save the items to the table
If you have the Global Option "Print Beverages immediately" enabled, any Beverage Stock Items will print to the Kitchen straight away and any other non-Beverage items will be held from printing.
Further details on how to configure the "Print Beverages immediately" function are outlined here.
If required, you may continue to add additional items to the table by selecting the Table from the Table Map and pressing the POS button then repeating the above process.
Once you are ready to print the table order to the Kitchen, select the Table from the Table Map and press the "Kitchen" button below the Table Map.
The items will be printed to the Kitchen.
The button will also toggle back to "Hold Print" - if you want to perform another Hold Print before saving additional items to the table, you may press "Hold Print" then press the "POS" button and add the items as required, then press the "Kitchen" button once you are ready to print those items to the Kitchen.